History
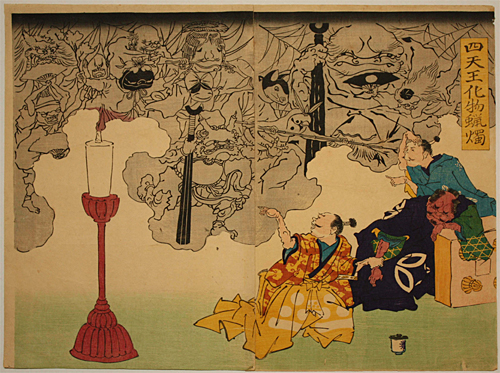
The origin of the use of the waxes which uses Japanese wax trees is sometime in Muromachi period (1337 to 1573). Then it became more popular in Edo period (1603 to 1868) mostly between latter period of Edo and Meiji period (1868 to 1912). However, it was popular among rich people like merchant and Samurai while most of common people used canola oil for their light.Japanese wax has three steps to make. Sumac waxes, wicks, and thicken the waxes by hands.
Sumac waxes
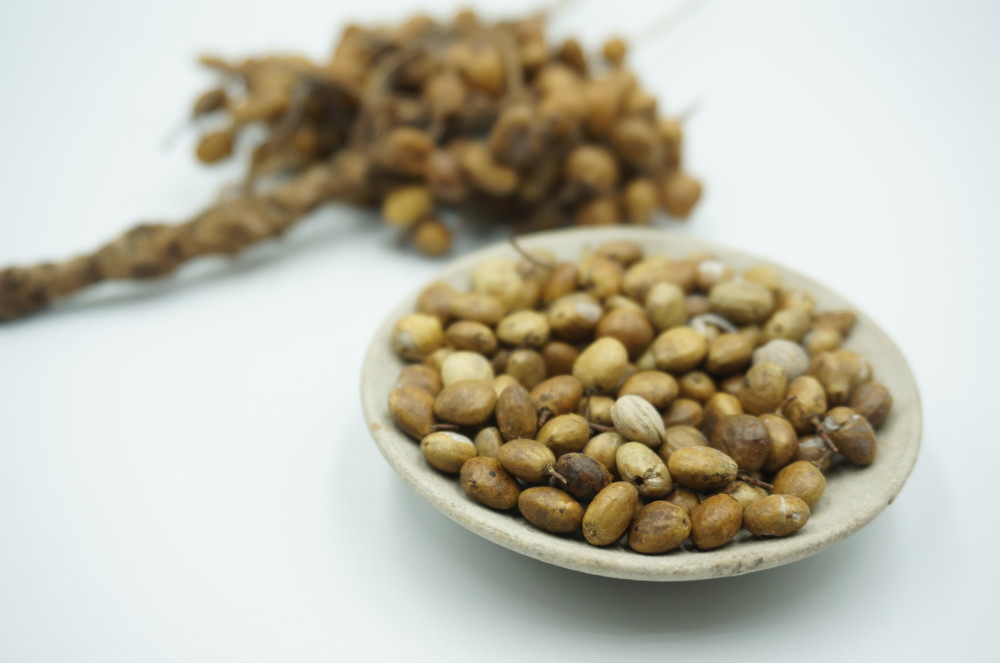
Sumac waxes are made of plants of the Japanese wax trees. There are only three business operators which grow them and make the waxes in Japan. All of the factories are in the Kyushu area. Plants are cropped around December and January, then as you can see in the picture, pulps and seeds are divided. Pulps are steamed and squeezed before put in the solvent. We call this “ Tamashibori process”. After this process, the mixture of squeezed pulps and the solvent is called Kirou. Kirou is not ready to be waxes, it needs to be dried under the sun. After this, Kirou is called Hakurou. Once the Kirou is dried under the sun, the color changes into yellowish white to white, theta’s why it is called Hakurou. (Haku means white and Rou means wax.) Hakurou is more expensive than Kirou because it needs more process than Kirou to make. Hakurou is often used as basic ingredients of makeup products and crayons.
Wicks
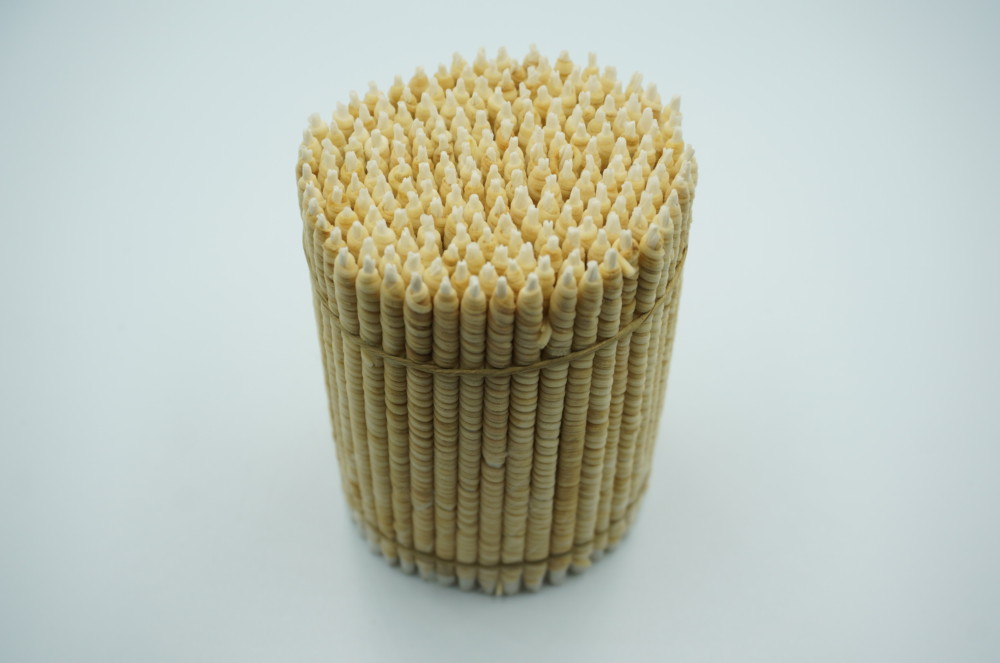
The wicks of Japanese candles is made of rush grass and Japanese paper. Rush grasses grow in marshes and water, Japanese people use them to make straw mats and tatami mats. To make wicks, we remove integument of rush grasses and use inside of them. This process is called Shinnuki. Then the rush grass is wrapped around Japanese paper which is shaped cylinder. This is called Shinmaki. At last, we put floss silk to put them all together. All of these processes are hand working.
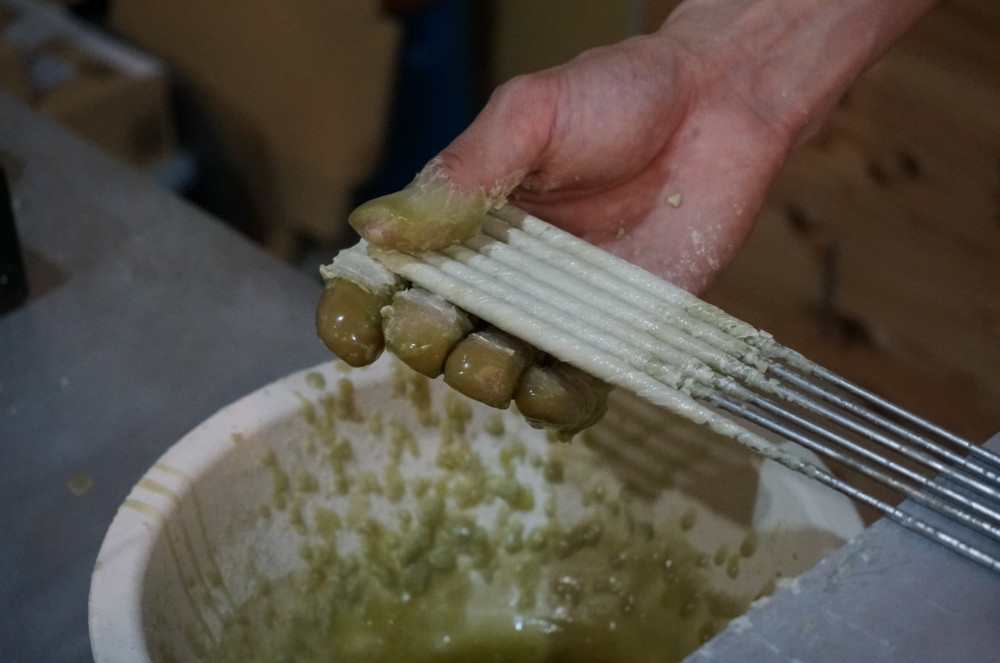
Thicken by hands
To thicken waxes, there are four steps. Step one, Aragake – spit a wick and souse waxes over it. At this point, the waxes’ temperature is 50℃. Step two, Hongake – keep the waxes’ temperature at 40℃ then souse them over and over again until the candle reaches its certain size. Step three, Uwagake – to complete, give the roughly finished candle a few coats of wax paint. Step four, Shintashi – heat the knife to melt the wax and take out the wick. Cut off the unneeded parts, then it’s finished. If you cut the candle, you can see layers like the annual rings.
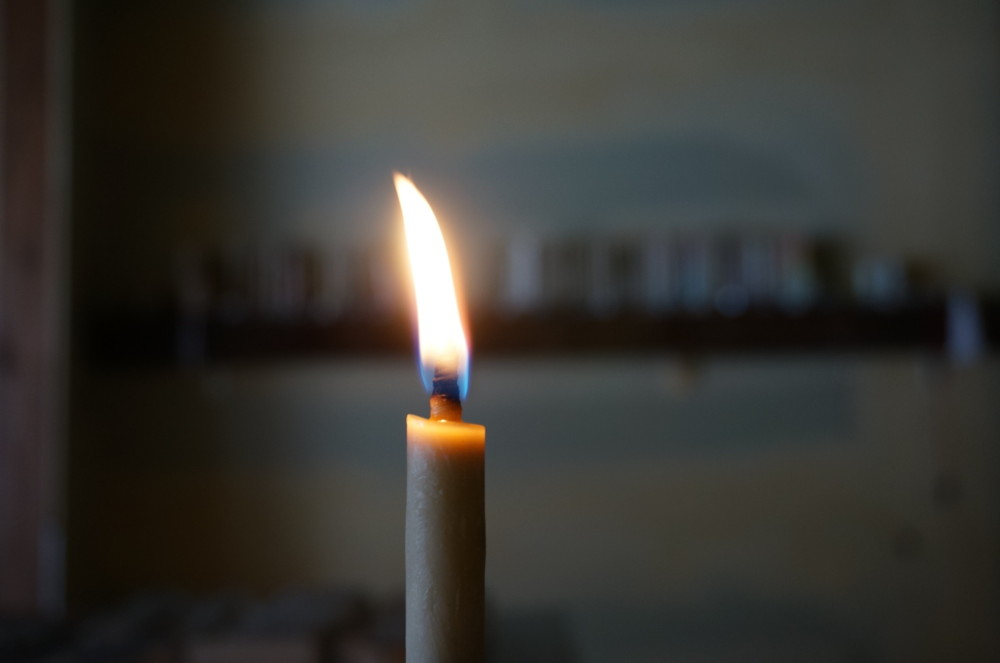
Flame
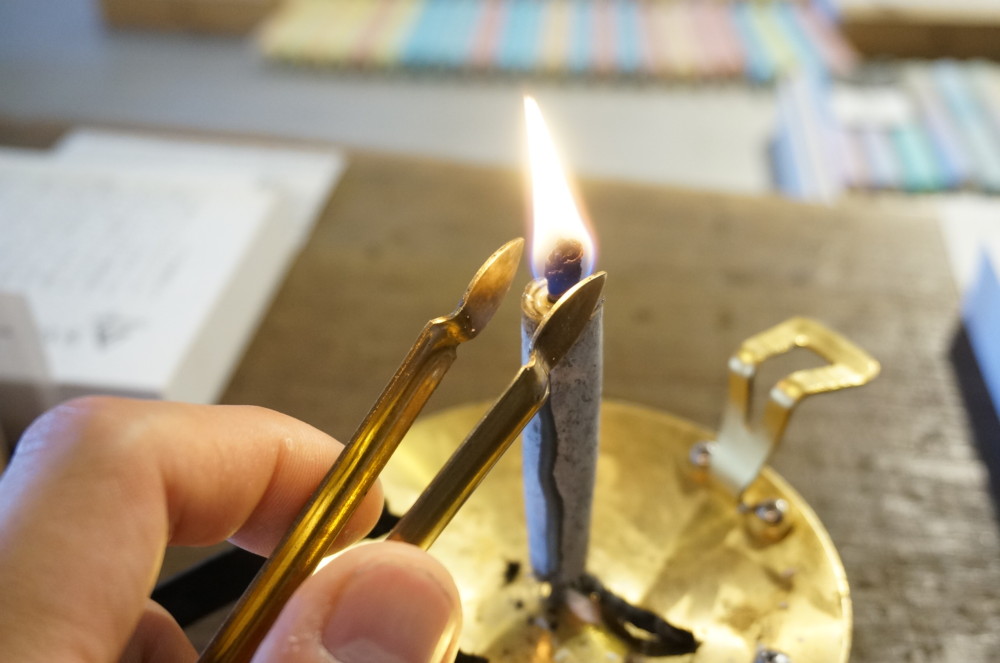
When you put a fire, you can see a big wavy flame on the Japanese wax. The wax gets the heat and melts down then it piles up around the wick. Unlike other candles, the wax doesn’t melt down and makes stains, Japanese waxes’ wicks suck the melted wax. It doesn’t waste waxes until the last moment. That’s what’s special about this Japanese waxes. The flame is special too. It moves irregularly, it may looks like the flame is alive and have their own thoughts. Compare to western candles, Japanese waxes are darker and more orange. It’s because the wax is made of plants and its paraffin has a low melting point. With this paraffin so low, we are able to make the candle by hand works and the flame gives you warm and heartful lights.
